Hardware
To connect to the ShackConnect Cloud you need at least one device. Every device has a role and comes in two variants.
Roles:
- Server — installed at your station. It connects your radios and other devices to the cloud so they can be controlled remotely.
- Client — used at your operating position. It provides the serial ports and audio devices (PTT, CW key, footswitch, ...) you use to operate a station.
Variants: every role comes in a Basic and a Pro version. The differences are described below.
There are two ways to get a device:
- Buy a pre-configured device from our eshop — it arrives ready to use, you only need to pair it.
- Build your own (DIY) — download a device image and flash it onto your own Raspberry Pi. See DIY devices.
Buying a device does not include access to the ShackConnect Cloud. Every device must be paired with a subscription slot — either a license or an extra subscription. Without one, the hardware cannot be used.
Servers
Basic
A Raspberry Pi with a pre-configured ShackConnect image, ready to use out of the box. Once powered on, just pair it with your server slot.
Pro
The full Pro server feature list is being finalized. It includes extras such as a local/remote switch, relays, and status LEDs.
Clients
Basic
A Raspberry Pi Zero 2 W with a pre-configured ShackConnect image, similar to the Basic server. Once powered on, just pair it with a client slot.
Pro
The full Pro client feature list is being finalized. It is expected to add features such as a PTT button, footswitch, and CW support.
DIY devices
If you only bought a license, or an extra server subscription, you can build your own device instead of buying pre-configured hardware. Download the device image, flash it onto a supported Raspberry Pi, and pair it.
Managing your devices
All of your devices live on the device management page. Every account comes with a free client, whose pre-configured image you can download from the clients tab.
If you also purchased a license, you will automatically get a server, which you can manage on the servers page.
Flashing a device image
This step is only needed for downloaded images — your free client and any DIY device. Pre-configured devices bought from the eshop are already flashed.
We recommend flashing the image with the official RPi Imager (preferably the older 1.9.* version):
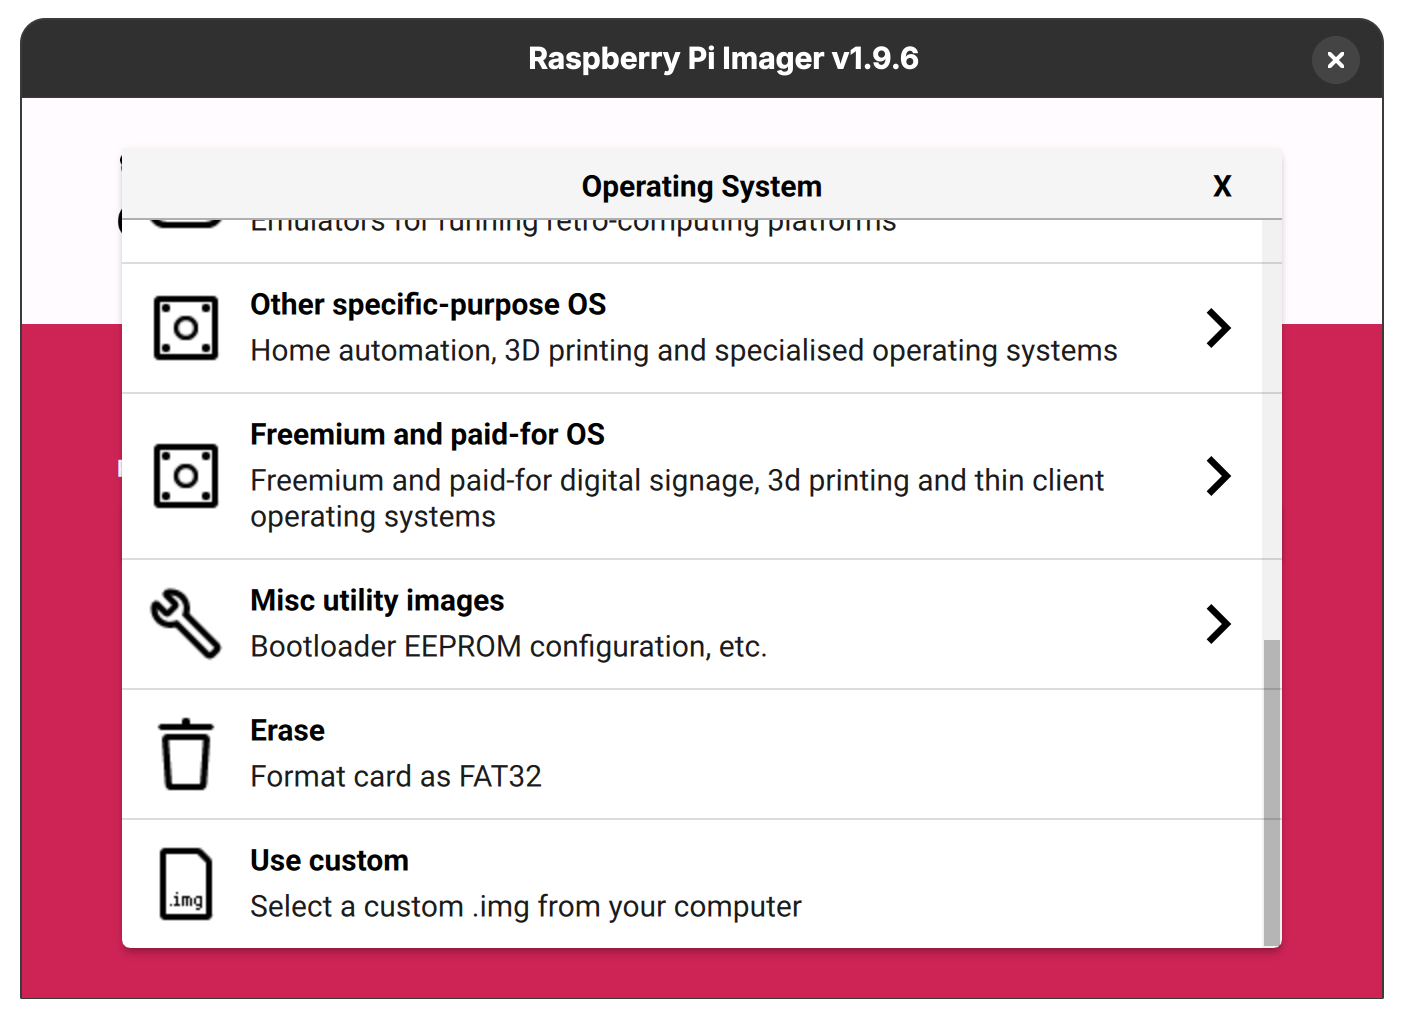
With the recommended RPi Imager version you can also pre-configure the image — for example, set up Wi-Fi or enable/disable SSH.
Once the SD card is flashed, insert it into your Raspberry Pi and power it up.
If you are flashing a server, make sure it is connected to the internet — ideally with an Ethernet cable. Wi-Fi works (pre-configure it before flashing) but is not recommended due to added latency.
Pairing a device
Pairing is the same for every device, whether you bought it pre-configured or built it yourself. On the device management page:
- Press the Attach button on the matching server or client slot.
- Enter the serial number printed on the device (or shown after flashing).
That's it — your device is now linked to your slot and ready to use.
Detaching a device
You can detach a device from a slot at any time, and you can attach a new device right afterwards. However, detaching is rate-limited: once you detach a device, you must wait one month before you can detach from that slot again.
There is no cooldown on attaching — only on detaching. So upgrading works fine: if you have a Basic client and want to switch to a Pro client, just detach the Basic device and attach the Pro one in its place.