Connect your Client
The ShackConnect Client device allows external applications to connect to your radios and other server-side devices via virtual serial ports. The Client device also enables external applications to RX / TX in digital modes via a virtual sound card. Finally, the PRO version allows you to connect a footswitch, and a paddle / key to TX in CW mode, and send buffered CW input from dashboard or external application.
Prerequisites
- Chrome-based web-browser (Google Chrome, Chromium, Edge, ...) - needed for WebUSB support; must be updated to a recent-enough version (a warning will be displayed by the application on the CLIENTS page if your browser is not supported or outdated)
- ShackConnect Client device
Connect to computer
To get started with your ShackConnect Client device, connect it to the computer via a USB cable. Power-on after connecting typically takes about 20 seconds. You should see the serial ports and sound card enumerated in your operating system after power-on.
Pair with browser (first use only)
On first use of a Client device with a given computer, you must pair the Client device with your browser.
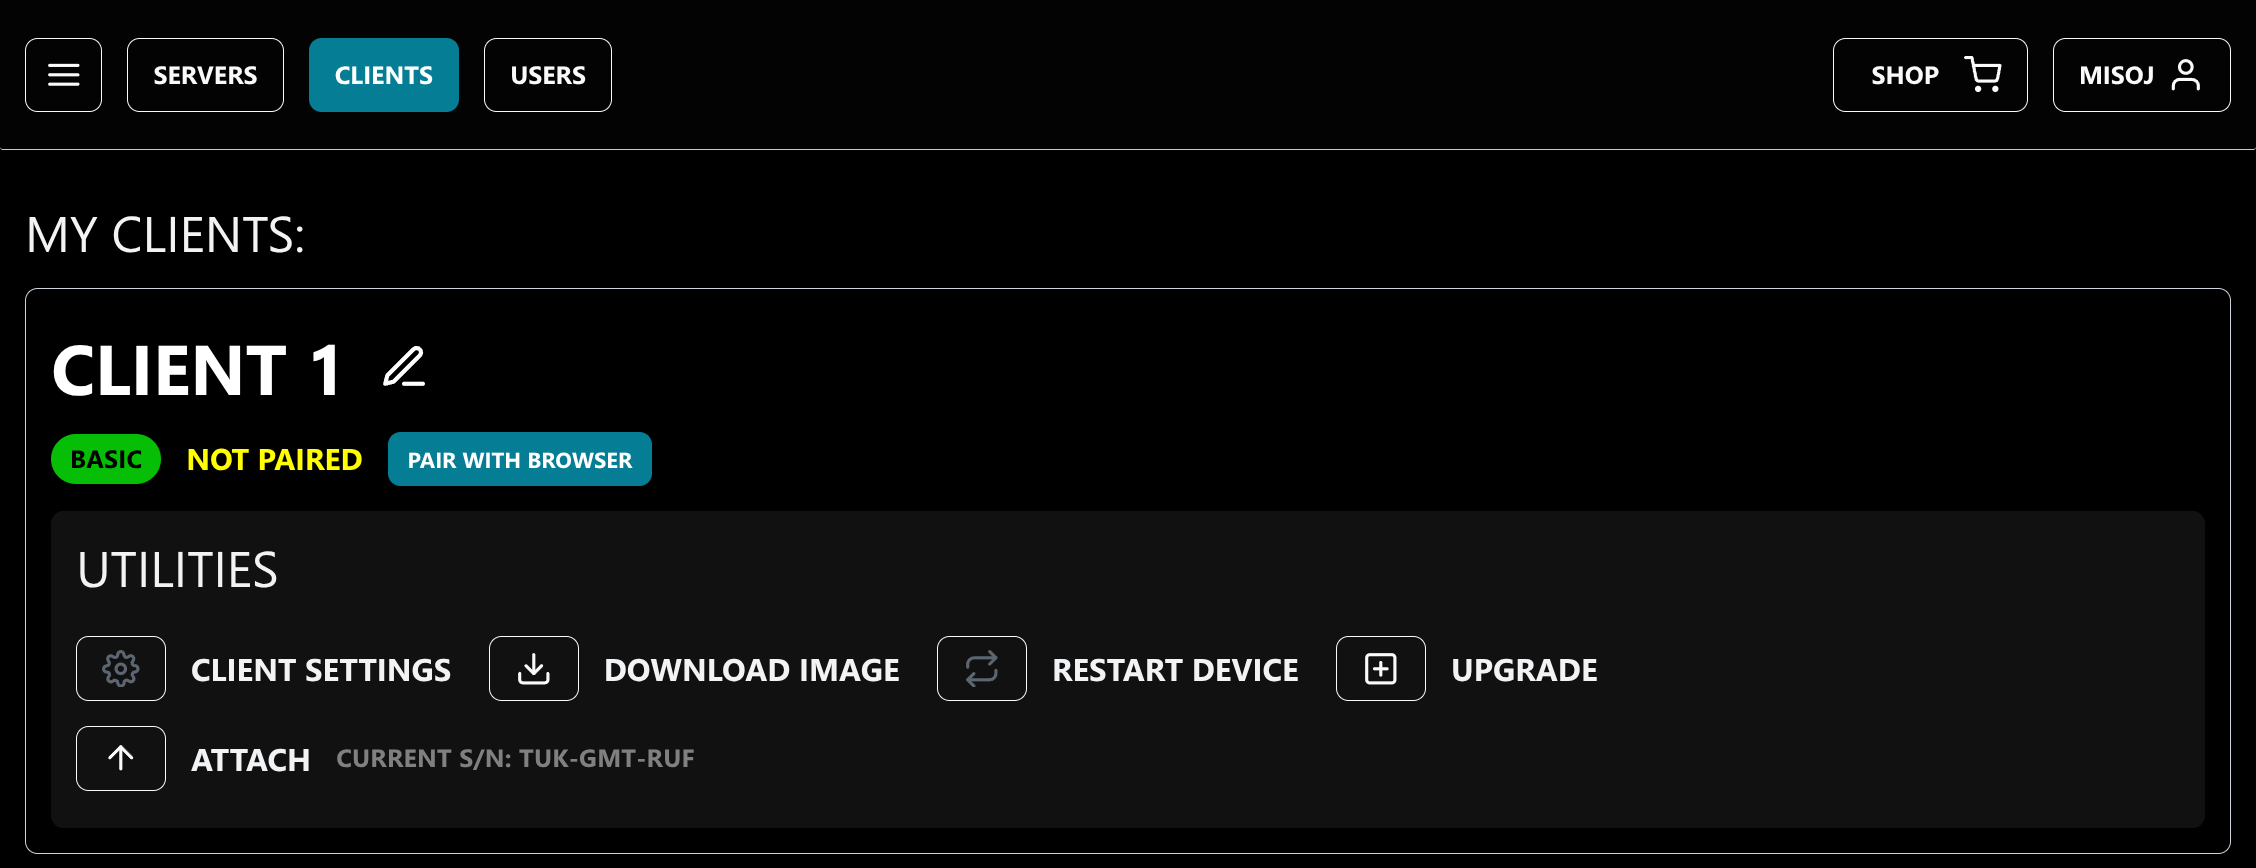
On the CLIENTS page, click the 'PAIR CLIENT WITH BROWSER' button.
A browser pop-up menu will appear asking you to select the client device. If your client device is listed, select it and hit connect.
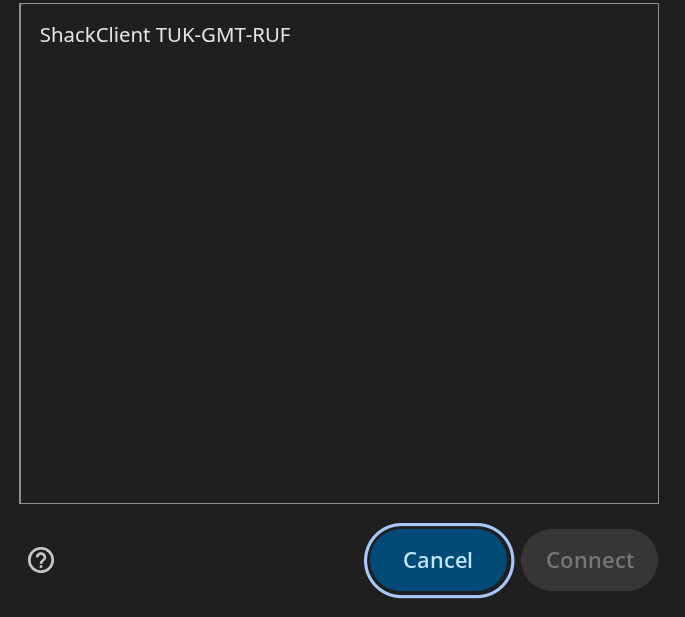
This means the device is not properly connected to the computer, has not yet started, or there is an OS configuration issue preventing the browser from accessing USB devices (most commonly on Linux, see below).
Linux-specific configuration
To allow browsers to access the Client device on Linux, you typically need to add a new udev rule. Run the following terminal commands to add and load the rule:
sudo bash -c 'echo "SUBSYSTEM==\"usb\", ATTR{idVendor}==\"39ac\", MODE=\"0666\"" > /etc/udev/rules.d/50-shackconnect.rules'
sudo udevadm control --reload-rules
Then, disconnect & reconnect the client USB cable.
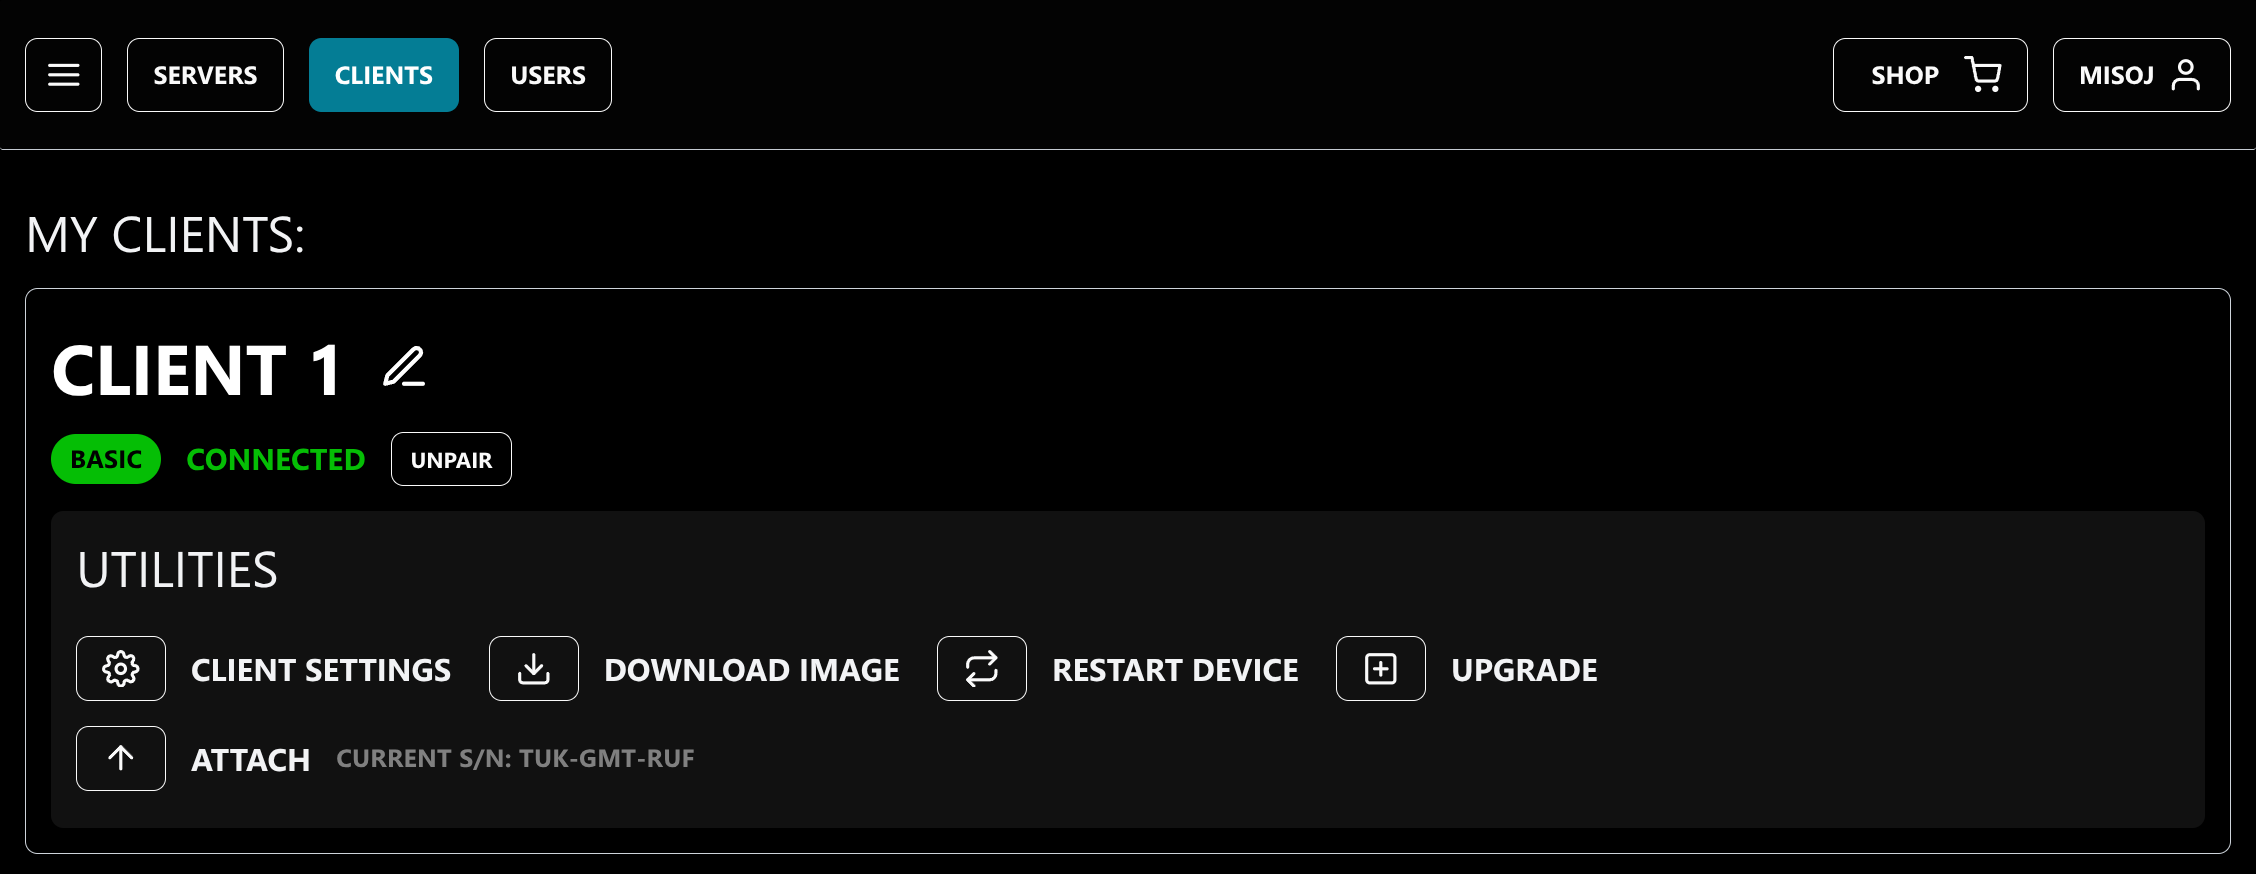
The client should now be in the 'CONNECTED' state.